
How To Repot A Fiddle Leaf Fig (Planter Size, Soil, Drainage, & Fertilizing)
Do you have dreams of super-sizing your fiddle leaf fig from small-scale to jumbo? Fiddle leaf figs are content to stay pot-bound in a smaller pot, but if you want them to grow to max capacity, they will need to be transplanted into a larger planter to spread out and fill out.
This is what happened with my fiddle leaf, and I’ve outlined every step you need to take along with the “why” behind each step. Do the same, and eventually you’ll see results with your own fiddle leaf through new growth and beautiful glossy green foliage.
Here’s what we’re going to cover:
Choosing a container size
Soil - what type
Drainage - what most guides get wrong
Fertilizer - best FLF NPK ratios
Planter strategy for your fiddle leaf
[This post contains affiliate links. Click here to read my full disclosure.]
![The Definitive Guide To Repotting A Fiddle Leaf Fig [Planter Size, Soil, Drainage, & Fertilizing] - plus what many FLF guides get wrong. Do you have dreams of super-sizing your FLF from small-scale to jumbo? Fiddle leaf figs (Ficus lyrata) are …](https://images.squarespace-cdn.com/content/v1/5dd86eda07db674ed859c949/1615509902005-9I5JB8HIKQ7RTNB1LFZ4/how-to-repot-fiddle-leaf-fig-trees.jpg)
Before we get going, if you happen to be in need of your first fiddle leaf fig (Ficus lyrata), or you want to create a grouping of FLFs in a large planter - (I love them potted in groups of three) - here are a few reasonably priced options:
SHOP THE LOOK


[Want more helpful plant tips and design inspo? Let's hang out on Instagram!]
Choosing the right container size
One of the most common questions when repotting any plant is what size planter to use. When I interned in a botanical conservatory, the strategy was to repot so the plant didn’t need to be transplanted again for at least 2 years. Predicting two years growth though isn’t easy, especially if you aren’t a botany PhD.
The recommendation I see most often is to only size up about 1-2 inches larger than its’ current pot, or 2-3 inches for larger pots. The problem with this is it doesn’t take into consideration the size of the plant itself, and it only marginally addresses it’s current pot size. It’s more of a one-size-fits-all approach vs. a '“sizing up the current plant situation” approach, so to speak.

Case in point - my fiddle leaf fig. It badly needed transplanting. My fiddle leaf, which I affectionately call Mrs. Figg (Harry Potter ref), was so underpotted from growing so fast that if I had only sized her up two or three inches, it would have accomplished almost nothing.
She had grown very quickly in the year plus that I’d had her, so the 8”pot was drying out all the time and the tree would sometimes topple over because it was top-heavy.

My fiddle leaf fig had more than doubled in size in about 16 months. This was how it looked even after pruning 16” to propagate it. It dried out quickly and would sometimes fall over.
Plant to pot ratio - a visual guide
Part of the equation of what size pot to transplant your fiddle leaf into is the ratio of the plant size to the pot.
Visually, a rule of thumb is for the pot to be 1/3 the size of the plant. (Or conversely, the container should be 2/3 of the size of the plant for a lower spreading or trailing type plant.)
So a 6” pot would look good with a plant that’s 12” tall (shoots only, not the soil and roots) for a total of 18” from bottom of pot to top of plant.
This is a general guideline, and it will likely not hold up for a tall tree-like plant, nor for a new transplant where you’re hoping to encourage future growth. But I do think it’s valuable for the following:
a) It indicates for when it’s time to transplant into a bigger pot
b) It provides a visual cue to when a pot is too big for a plant, which could lead to your plant staying too wet for too long.
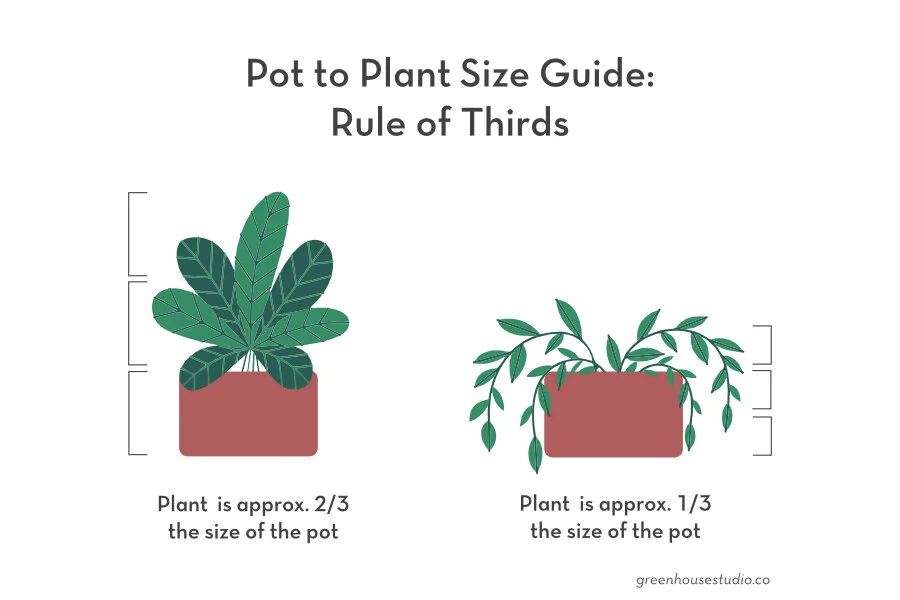
One guideline for choosing a planter size is to use the design rule of thirds. Your plant and pot will look visually balanced if the plant is either 2/3 the size of the pot or 1/3 the size of the pot. Graphic | Greenhouse Studio
STEP 1 - Use a planter that is large enough so your fiddle leaf has grow-room and is visually balanced (or will be after it grows a bit.)
SHOP THE LOOK


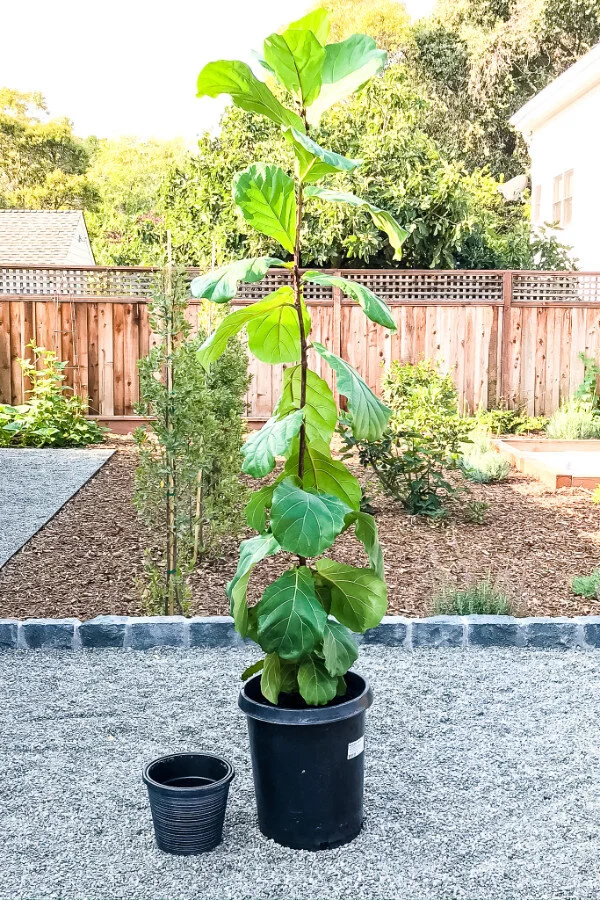
Choose a planter that visually balances the size of the plant while providing some room to grow. I sized up my Fiddle Leaf Fig from an 8” pot to a 15 gallon container. As you can see, it could have gone even bigger.
Use a well-draining potting soil
Once you’ve settled on a container for your fiddle leaf’s new home, it’s time for soil.
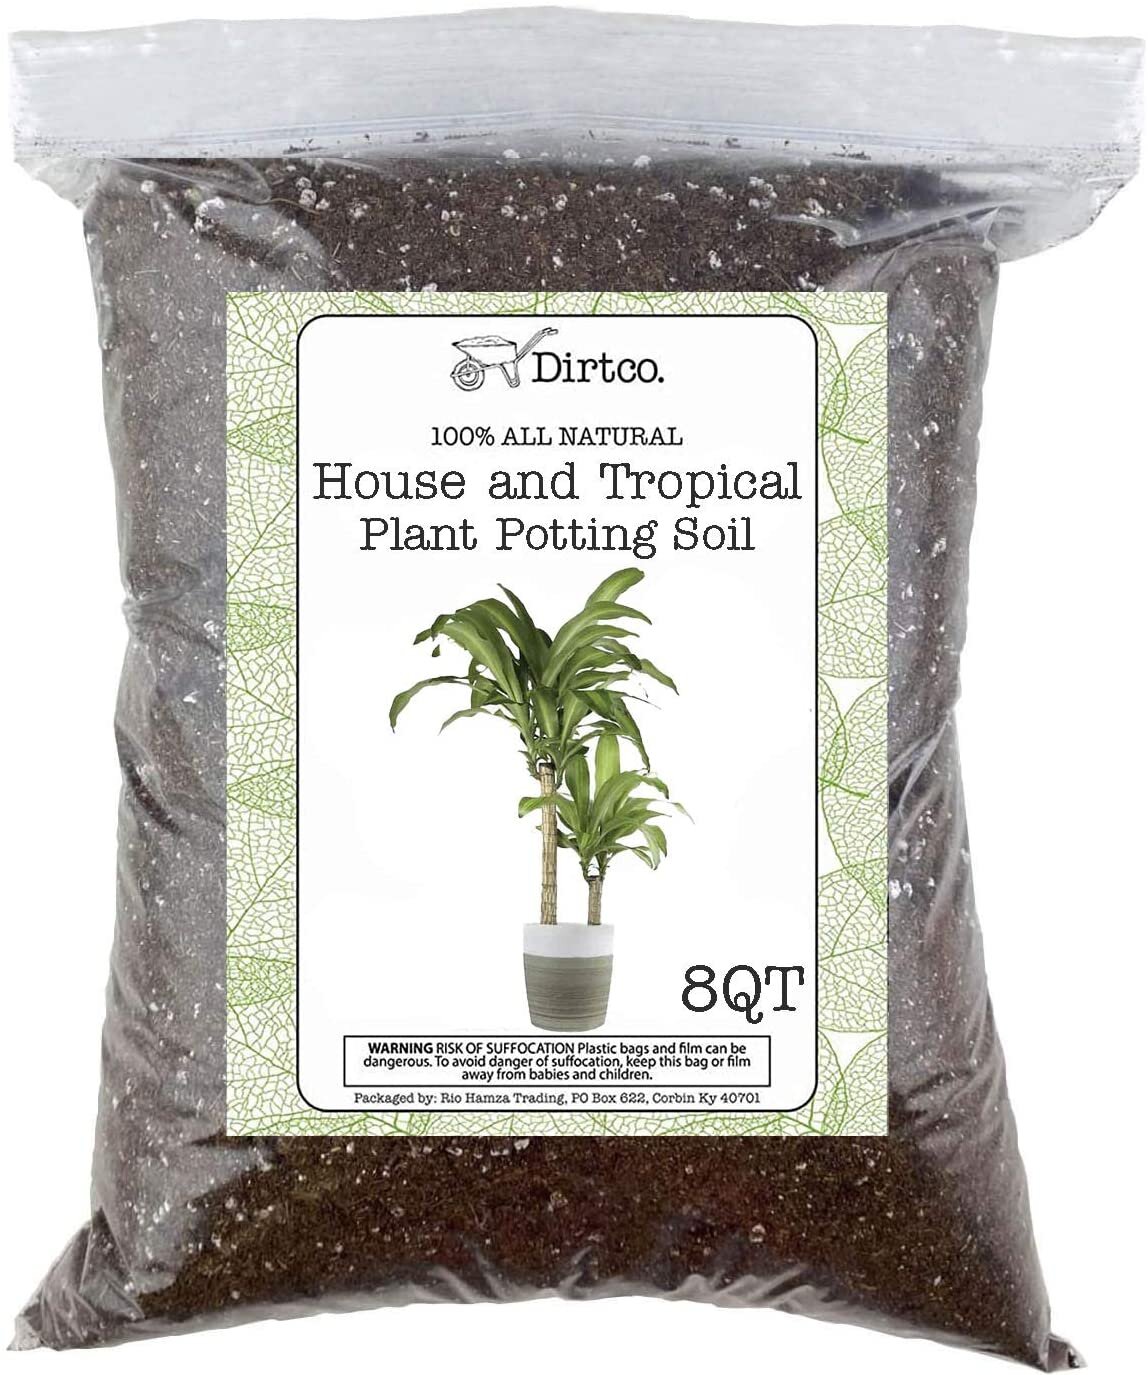
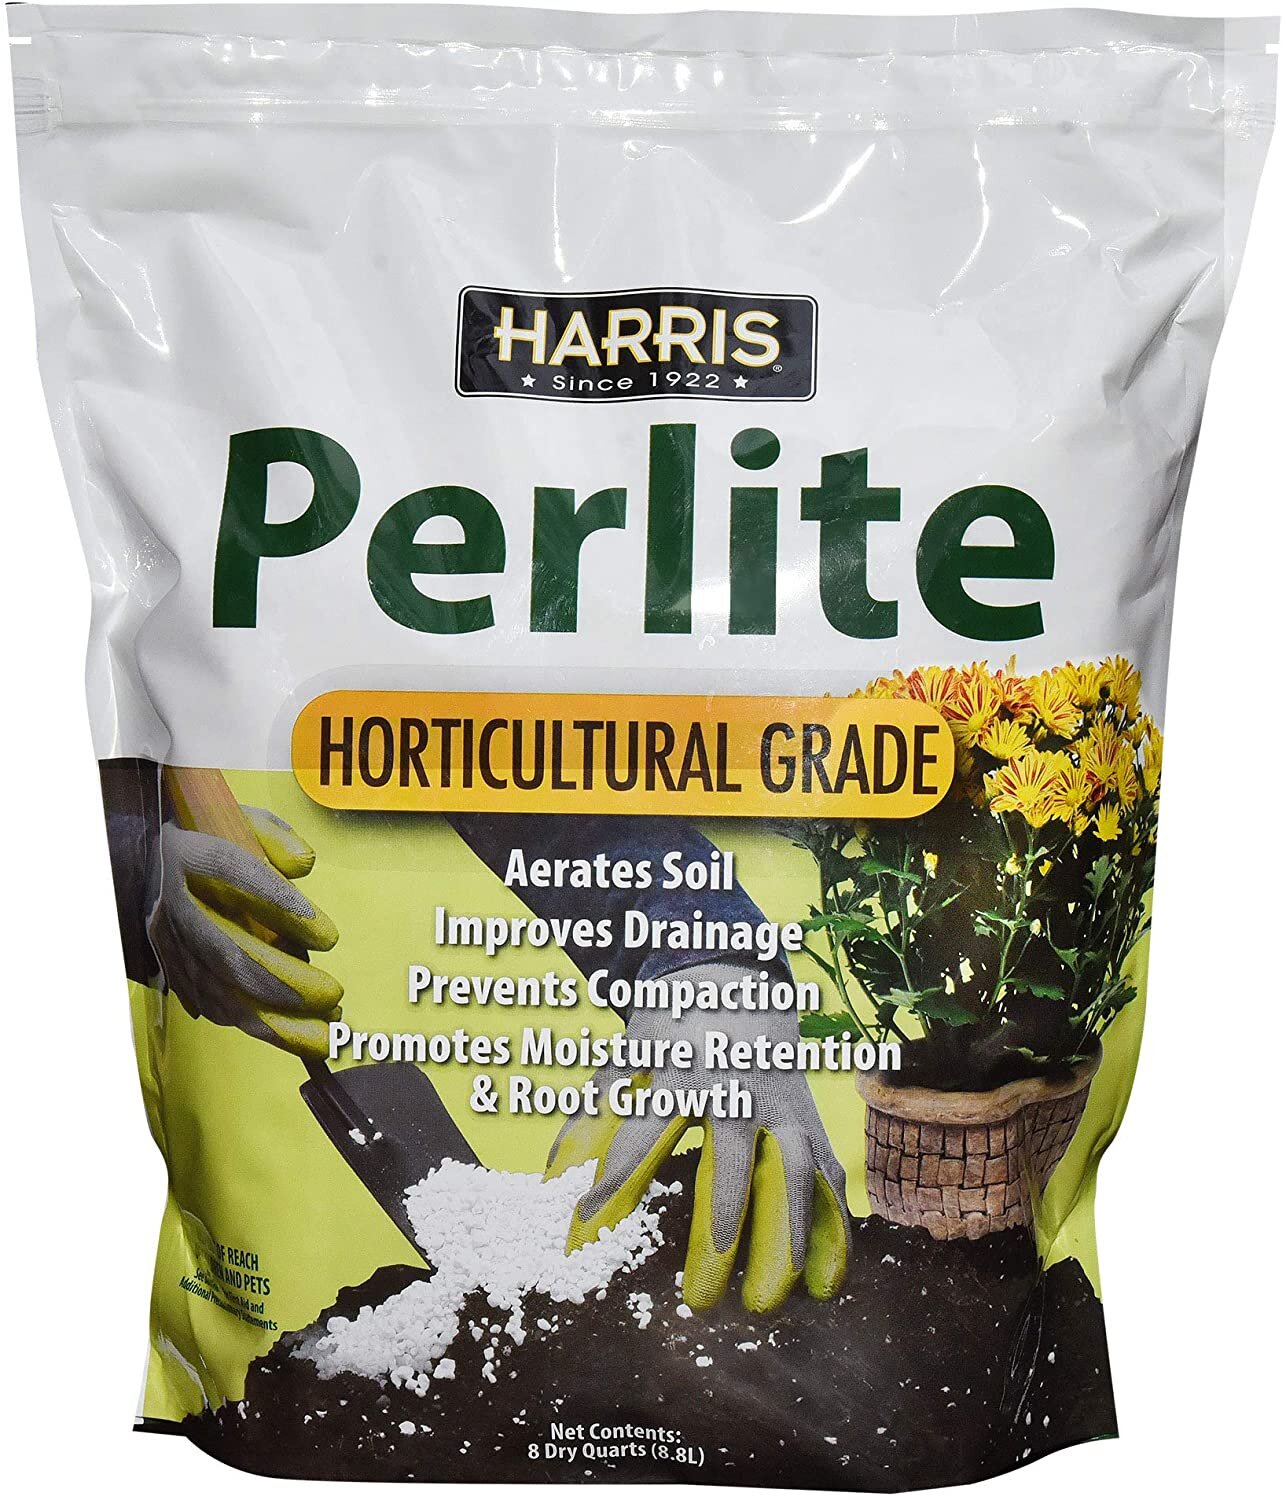
Fiddle leaf figs need well draining potting media that’s high in organic matter. A peat-based soil with some perlite works great. This is standard fare for most indoor potting mixes with good reason.
A basic recipe would be about 2/3 peat to 1/3 perlite. There are many other more elaborate recipes though that would work well. I just want to give you a general guideline for sufficient drainage here.
RECIPE
2/3s peat-based media
1/3 perlite soil amendment

For reference, the 15 gallon container for repotting my FLF took an entire 1.5 cubic-feet bag of soil to fill.
SHOP THE LOOK

Drainage
Can we discuss drainage for a minute? I don’t mean your soil’s drainage, but the drainage in the pot itself.
I want to discuss drainage because I need to dispel some bad information I keep seeing. Specifically, the idea of placing gravel or rocks in the bottom of the pot to “increase drainage.”
Let me be crystal clear: this is INCORRECT INFORMATION. Placing gravel or rocks in the bottom of your pot only RAISES the level of water saturation (a.k.a. perched water table).
The thought process behind this is reasonable enough. It’s true that water easily runs through large aggregates like gravel or rocks. Here’s the issue though:
For a given potting mix, the saturated zone will be the same height (3 inches for example) regardless of the container size or volume. So no matter where that soil appears in a pot, it’s going to be saturated for 3 inches. (A hypothetical height - the actual perched water table height depends on the soil mix.)
Soil sitting above any gravel is finer than the gravel. Therefore the soil has a stronger hold on the water than the gravel’s ability to pull water out of the soil. (There’s more physics and soil chemistry involved here, but we’ll leave it at that.)
As a result, the perched water table stays where it is rather than running down through the gravel. And since the soil is above the gravel, the saturation zone is higher in the pot than it would be without the gravel, where more roots are likely to reside.
So please DON’T ADD GRAVEL or rocks to the bottom of your pots. Your fiddle leaf (and any other plant you repot) will thank you for it.

A common myth is that adding gravel to the bottom of a container promotes drainage when it actually does the opposite. The finer soil above the gravel holds the water more strongly than the gravel ‘s ability to pull the water out of that soil to drain it. Graphic | Greenhouse Studio, adapted from ENH 120, UC Davis Dept. of Environmental Horticulture
Check out container soils and how to pick pots for a deeper dive into all of this. It’s not an easy read, but if you can slog through it, you’ll learn a lot. (Pretty sure this post is the reason I have so many education-site referral links!)
Do add a broken piece of a pot or a piece of screen over the bottom of the pot’s drainage hole if you want. This can help prevent roots from growing into the hole and possibly blocking it. (My regular fruiting fig did that and it was as good as a plug!)
Yes your pot MUST have drainage for optimal growing. For more on this, check out my post on selecting pots based on how you like to water.

STEP 2 - Add enough soil to the bottom of your container so that the crown of the plant (where the roots and stem meet) is a couple inches below the lip of the container, so you have enough room for watering.
Mound the soil a bit higher in the middle so the roots are encouraged to fan out.

Mound the soil up in the center to help fan out the roots. Also, this media has more perlite than I’d use for transplanting - it’s more of a propagation mix, but I thought it would be easier to see.
STEP 3 - Pull your fiddle leaf out of it’s pot. It’s easiest to do if the soil is dry. If it won’t pop out, try massaging the base of the pot if it’s plastic or tapping it. You can also insert a knife down the sides to loosen the roots.
Once it’s out, use your fingers to “rough up” the roots. If some of the roots are circling, take pruners and cut straight up the sides in 3 equidistant spots. Watch the video below for a demonstration.
The goal here is to encourage your fiddle leaf to break out of it’s “little pot” growth habit and fill out the new, larger pot. If you don’t cut and fan out the roots, a plant will often continue to grow in the same tight direction it did in the original planter.
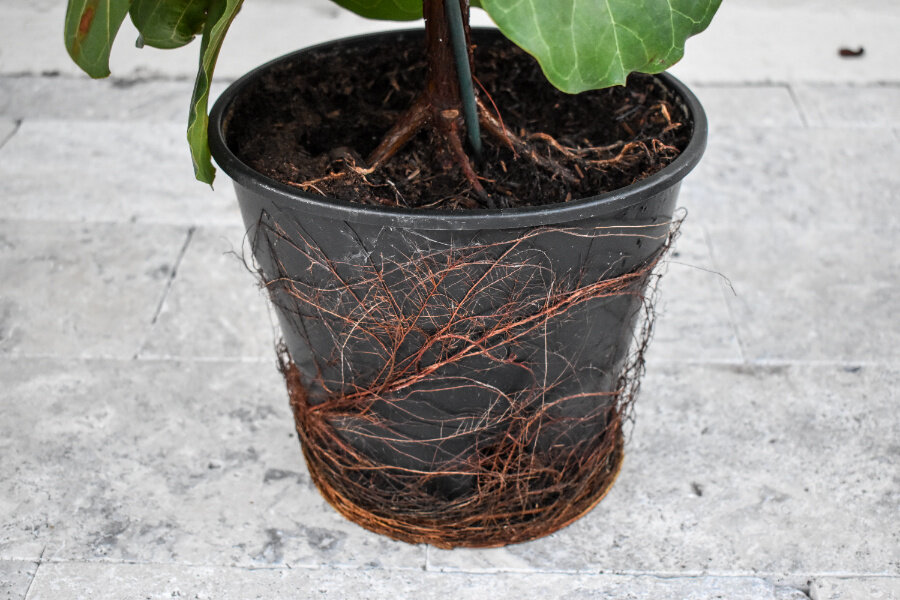
My fiddle leaf was trying to tell me that the 8” pot wasn’t cutting it. Note the circling roots are so bad it’s happening outside the pot, never mind the inside. Circling roots are what underpotted plants do when they have no where to go. When transplanting, they must be cut and encouraged to fan out so they don’t keep growing in a circle, even in a bigger pot. (See video below for a demo.)
STEP 4 - Place your fiddle leaf into the container centered on top of the soil mound. Fan the roots out to the sides. Then scoop additional soil around the sides and on top until it’s full.
Gently but firmly press down on the soil around the edges to compact it; it helps stabilize your fiddle leaf fig. Add more soil to fill in the gaps. Then water it. Watering it collapses the air gaps so you’ll need to add more soil again. Repeat until your soil level is stable and uniform.
Compact the soil around the edges of the container with your fingers. It will help stabilize your fiddle leaf fig. Add more soil, then add water, then repeat until the soil level is stabilized.
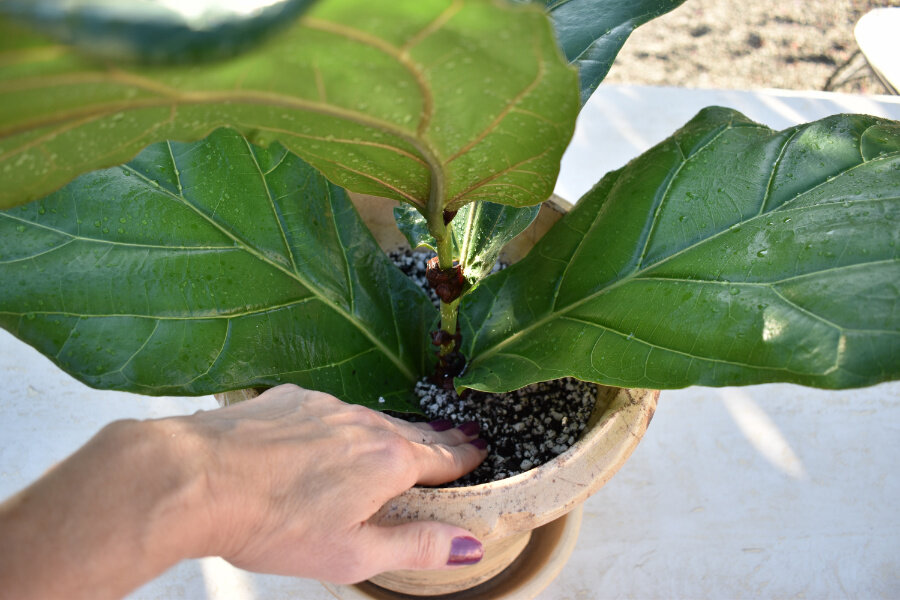
Pro-tip - Make sure the crown of your fiddle leaf, which is where the stem and roots intersect and it starts to fan out, is sitting slightly higher than the soil level. It will help prevent crown-rot.

The crown of your fiddle leaf (where the roots and stem intersect) should be slightly higher than the soil level to help prevent crown rot.
Watch the Repotting Fiddle Leaf Figs video:
Fertilizing your transplanted fiddle leaf fig
One of the tools for growing large, lush plants is fertilizer. Foliage plants like fiddle leafs will reward you with bigger and better greenery when they have regular applications of high nitrogen fertilizer.
First some general fertilizer info: The most common garden-variety plant fertilizers consist of a ratio of Nitrogen, (N) Phosphorus, (P) and Potassium (K). This is represented on the product label as “N-P-K” with 3 associated numbers next to it indicating the ratio of each element by weight.
Nitrogen is responsible mainly for greening and the overall shoot growth of the plant, what commercial growers call “vegetative growth,” i.e. non-flowering (reproductive) growth.
Phosphorus is responsible for root formation, flowering, and setting seed
Potassium is important for plant cellular function and regulation
We grow fiddle leaf figs (Ficus lyrata) for foliage rather than flowers. For this reason we want a fertilizer with a higher ratio of nitrogen compared to phosphorus and potassium. The ideal N:P:K ratio should be 3:1:2 or 3:1:3.
So if buying a fertilizer specifically for your FLF (or foliage plants in general) then look for similar ratios. Different ratios won’t hurt it, but a high nitrogen fertilizer is ideal.

Now that we’ve talked about fertilizer ratios for foliage plants, let’s discuss fertilizer options for your newly transplanted fiddle leaf:
Slow release fertilizer
Since you are replacing the soil when you transplant, it’s a perfect opportunity to also mix in a slow release fertilizer if you want. Slow release fertilizers are capsules or pellets containing fertilizer that is released in increments over time as you water. One of the most well known brands is Osmocote.
There’s debate over how evenly and for how long slow-release types actually release the fertilizer, but that’s outside our scope here. Some claim to last up to 6 months for indoor plants but 3-4 months may be more realistic.
Quick release fertilizer
You could also apply a typical water-soluble quick release fertilizer by dissolving it in water and then watering your fiddle leaf as you’d normally do.
Be sure to thoroughly water the fiddle leaf first so the soil is saturated. That way when you apply the fertilizer water it ‘s more likely to stay in the container longer instead of rushing out the bottom. It also helps prevent fertilizer burn.
STEP 5 - Mix a slow release fertilizer into your new soil prior to transplanting or just mix it into the top few inches when adding the soil. Pre-measure it first. OR - After watering your fiddle leaf fig, dissolve a quick release fertilizer in water and re-water it.
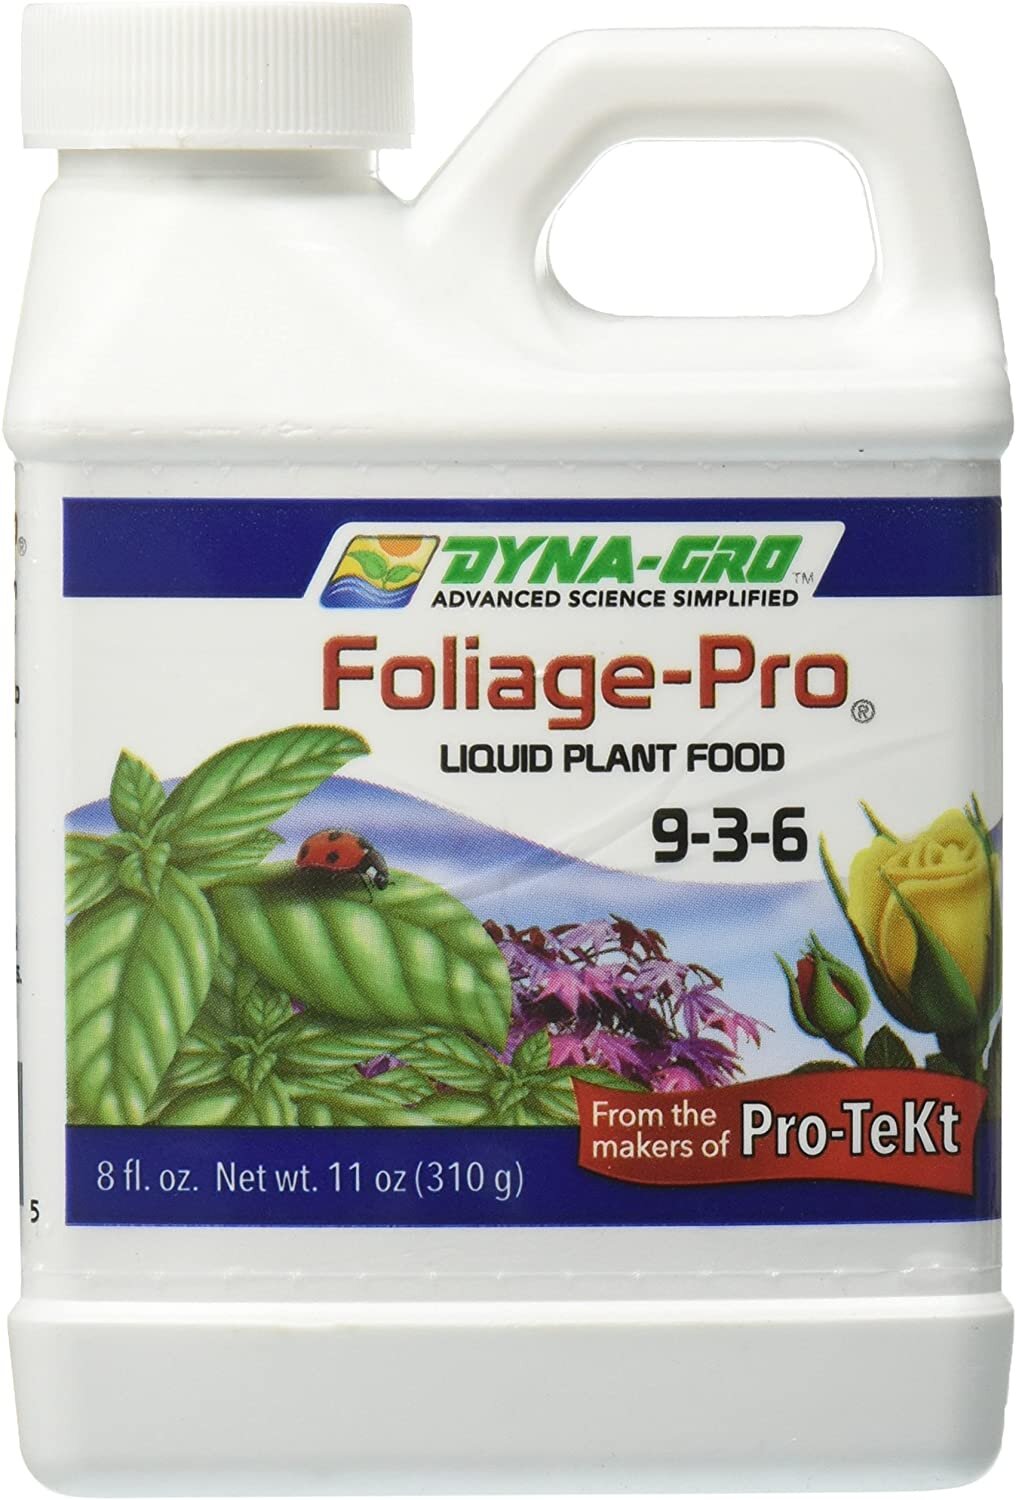
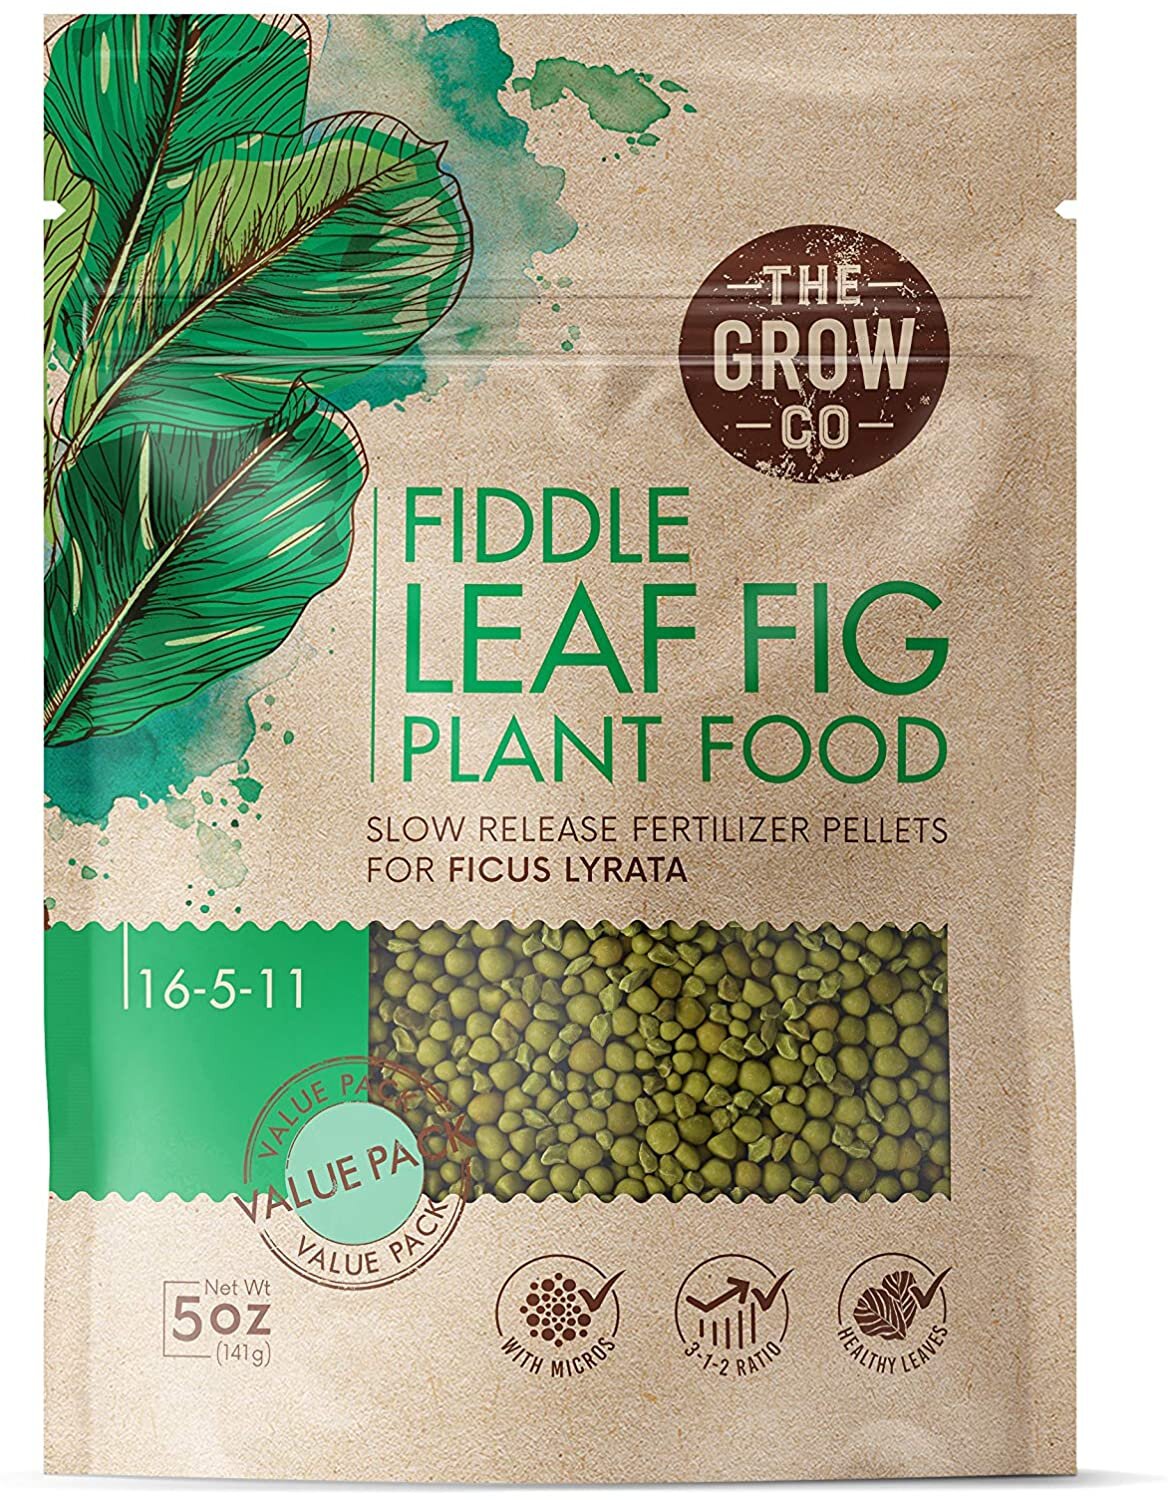
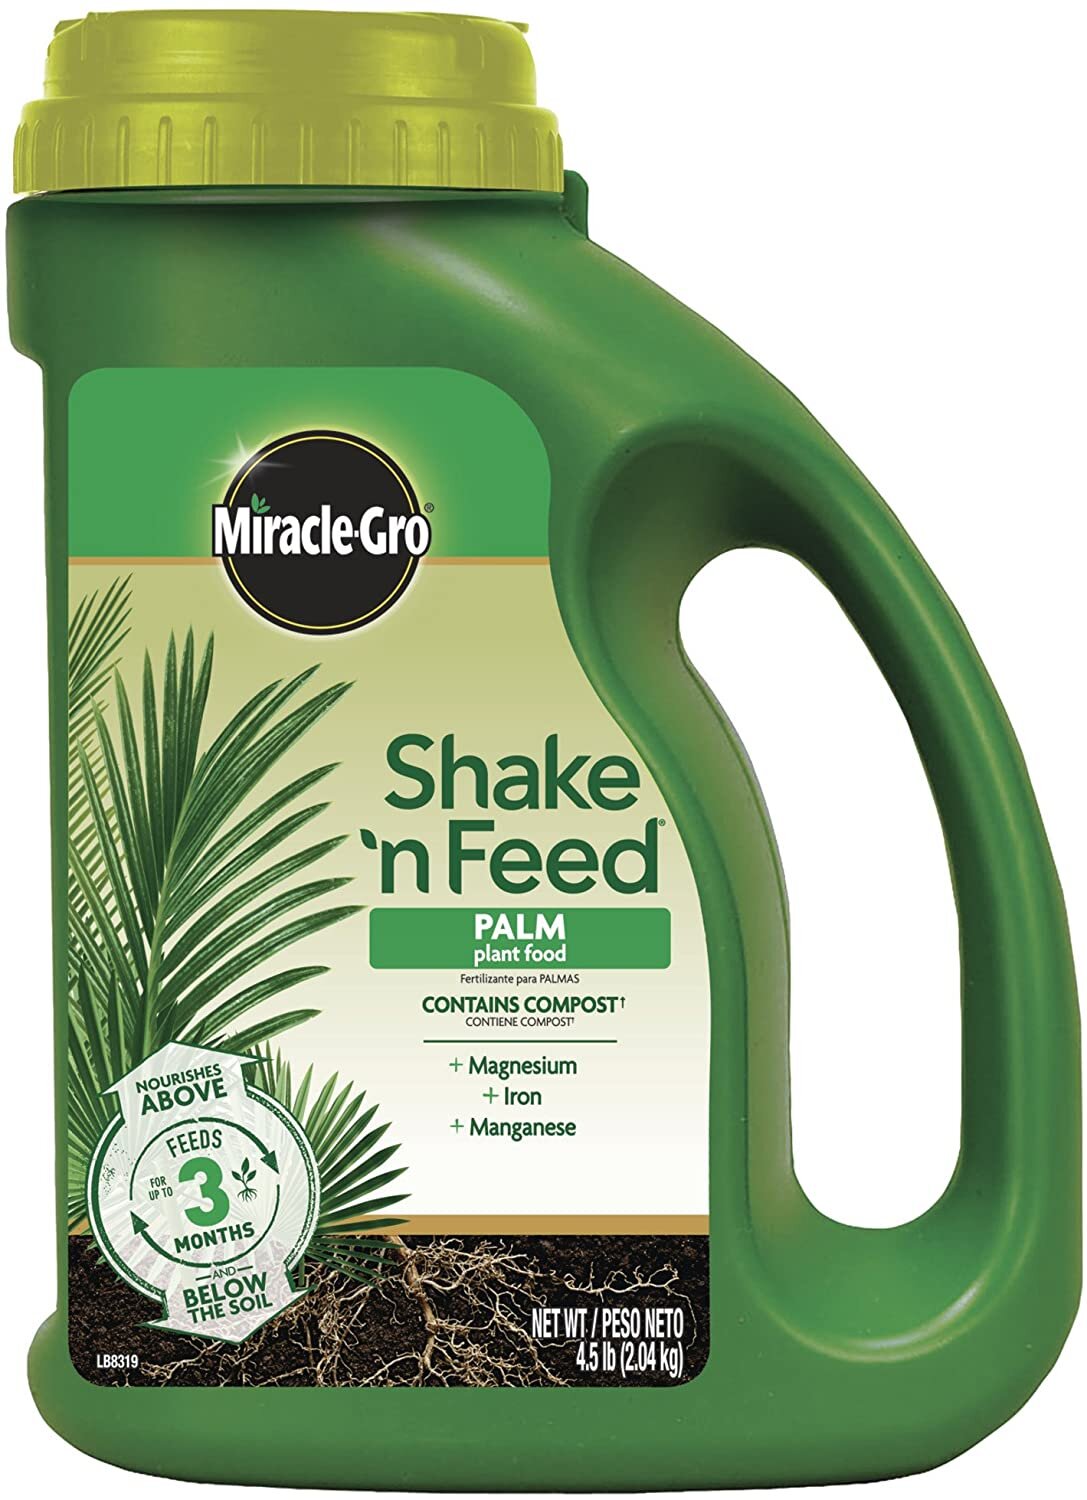
Here are fertilizers that have the best ratio of NPK for Fiddle Leaf Figs and other foliage plants:

Fiddle leaf planter drainage strategy & decorative details
I want to show you how I decked out my fiddle leaf in her new planter. You may have read in other posts how I’m not a fan of plain plastic pots. That’s an understatement. So suffice to say, that recycled black plastic 15 gallon nursery container wasn’t going to cut the décor mustard in my house.
Here’s my solution:
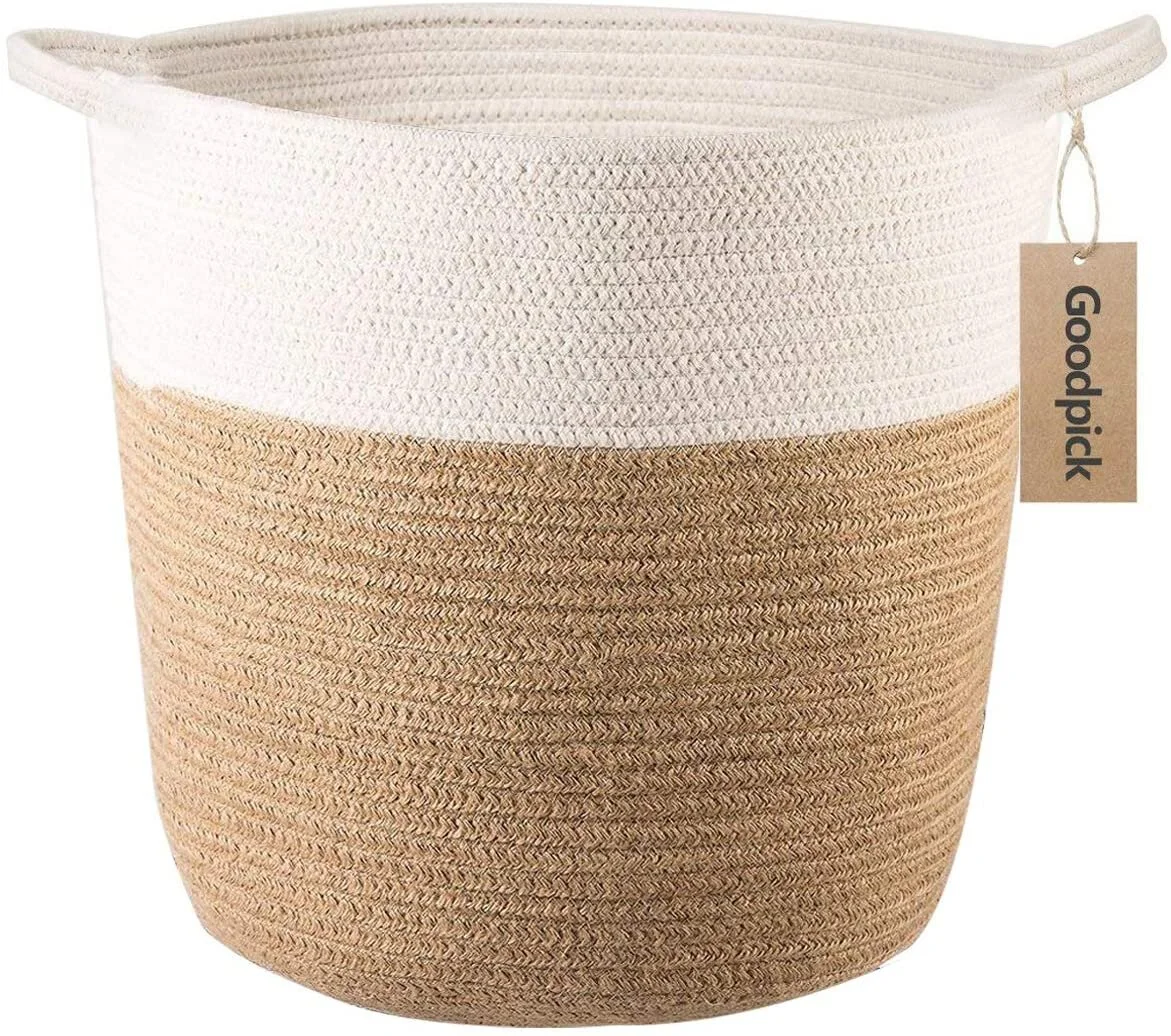
I bought an extra large basket from World Market, then I hauled it to the local nursery and found the biggest saucer that would fit in it - 16” diameter.
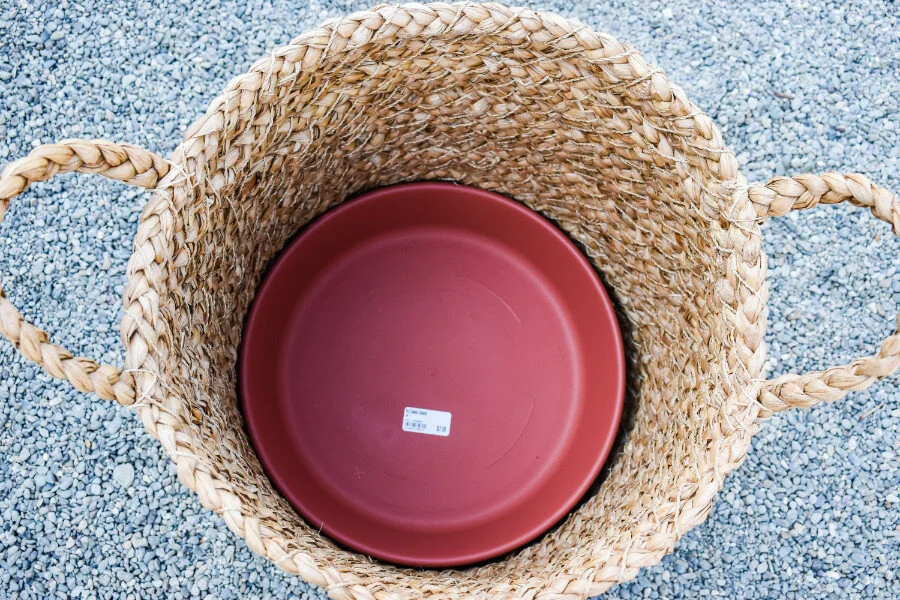
Now I have to back up and say, I really prefer to keep my plants in non-draining decorative planters and use a draining plastic liner (like what you get from the nursery) so I can pull them out and water in the sink or shower. However, with needing a container this large, a basket was my only decorative option, and my 15 gallon nursery container was my only liner option. So I had to pair those with a saucer inside the basket.
I don’t like this setup because I can’t see how much water is in the saucer. And as someone who only waters shall we say, intermittently, when I do water, I like to do it really thoroughly.
This isn’t possible though when I can’t see how much is already in the saucer since I can’t see down the sides. And needless to say, hauling Mrs. Figg out of the basket anywhere isn’t going to happen.

Naturally, I promptly pushed the envelope and over-watered so the basket was leaking onto my brand-spanking new hardwood floors. Not good. It was quite the effort to lift that soaking wet basket to get a plastic surface underneath and then layer towels under it so it could eventually dry out.
So I added another safeguard and bought a giant black saucer and placed it underneath the basket. I didn’t want to, but it blends in better than I though it would and it gives me peace of mind. (Especially since I over-watered it once again since then. Hey, Mrs. Figg was thirsty!)

My fiddle leaf fig watering fail. I over-watered Mrs. Figg and it spilled onto my just-installed hardwood. It was no easy feat for me to lug her onto that metal stand so the floors didn’t warp.
The last finishing touch I did with the basket was to add spanish moss. The black lip of the nursery container is flush with the basket and I didn’t like looking at it, so I bought a bunch of spanish moss and placed it around the edge of the nursery liner. Voila! Mission (finally) accomplished!
Mrs. Figg loves her new digs and has already regrown to her original height. Looks like I’m going to have to prune and propagate even more new little fiddle leafs!

Here’s my fiddle leaf dominating her new corner in my new office. I added the black saucer below the basket for extra drainage safety and it blends in better than I thought it would.
SHOP THE LOOK


STEP 6 - Consider decorative planters that will enhance your room, plan for any needed safeguards to prevent water spillage, and some Spanish moss on top can add a nice finishing touch as well. (Might also prevent cats from messing with the soil too since some people have trouble with that.)
So now we’ve covered all you need to know to successfully transplant your fiddle leaf fig. Time to go out and get a beautiful planter and then repot with abandon. Your fiddle leaf will thank you for it. Be sure to let me know below if you have any questions along the way.
[Want more helpful plant tips and design inspo? Let's hang out on Instagram!]

Don’t forget to sign up below for your free design guide on how to bring the outdoors in to create a nature-inspired home you love!
SOURCES
Gravel & Water Saturation graphic adapted from the course ENH 120, Management of Container Media by Richard Evans, Ph.D., UC Davis.
Cultural Guidelines for Commercial Production of Interiorscape Ficus
Other posts you’ll love:
Propagating Fiddle Leaf Figs [3 methods + why single leaf cuttings don’t work]
How to branch fiddle leaf fig bushes into trees (step by step guide)
How to care for Air Plants (Tillandsia watering, fertilizing, & troubleshooting)
Home Office Reveal - Plants, Light, & Nature-Inspired Workspace
Was this fiddle leaf post helpful? Pin it for later!

Please leave a comment/question below and be sure to check back for my response (I always respond) since it doesn’t send out notification when a response is posted.
XO,
Tina