Nature-Inspired Home Office Reveal
The Greenhouse Studio home office remodel was a long time in the making, and the dust has finally settled. Looking for inspiration for your own nature-inspired workspace? Follow along with me and see how this home office remodel turned out. Plus I’ve included my sources for furniture, decor, and plants along the way.
[This post contains affiliate links. Click here to read my full disclosure.]
Home office renovation backstory
Before the remodel, walking into this room always made me kind of cringe. It had been a project waiting to happen for a long time.
I couldn’t imagine ever liking this room, let alone loving it, so you can understand why I’m so excited to share with you the light and plant-filled end result!
You can read my whole design process from mood boards through construction in the home office remodel progress post. Here’s a bit of the backstory though:
The new home office space was originally added on in 1950 to my 1923 Spanish style home as a bedroom for a nurse hired to care for the lady of the house who was ill.
Although it was originally a bedroom, it has a layout that’s much better suited for an office. It’s long and narrow so it can only fit a twin bed, plus it has an exterior door. It was my youngest son’s bedroom, and we actually caulked the door shut not long after moving in to prevent his adventurous toddler self from exiting at will. (He would have been on a stool armed with tools to undo any lock in a flash back in the day.)
Before it became my home office, this room was my son’s bedroom (sort of). It’s long and narrow, only fitting a twin-sized bed.
It also has an odd divided bathroom with a shower and toilet behind a door and a separate alcove houses a sink. People have told me they’ve seen similar bath layouts in houses in San Francisco and Europe, but it was a new one to me.
Greenhouse Studio home office floorplan and furniture layout. Architectural “as-built” plan source | Michalski Design Group
As I said, it was originally my youngest son’s room but somehow it became more of his “workshop” where he’d tinker and play, and he began sleeping mostly in the guest bedroom/office. It became clear to me that it was time for us to officially swap spaces.
Nature-inspired home office reveal
OK enough with the preamble - let’s get on the finished project!
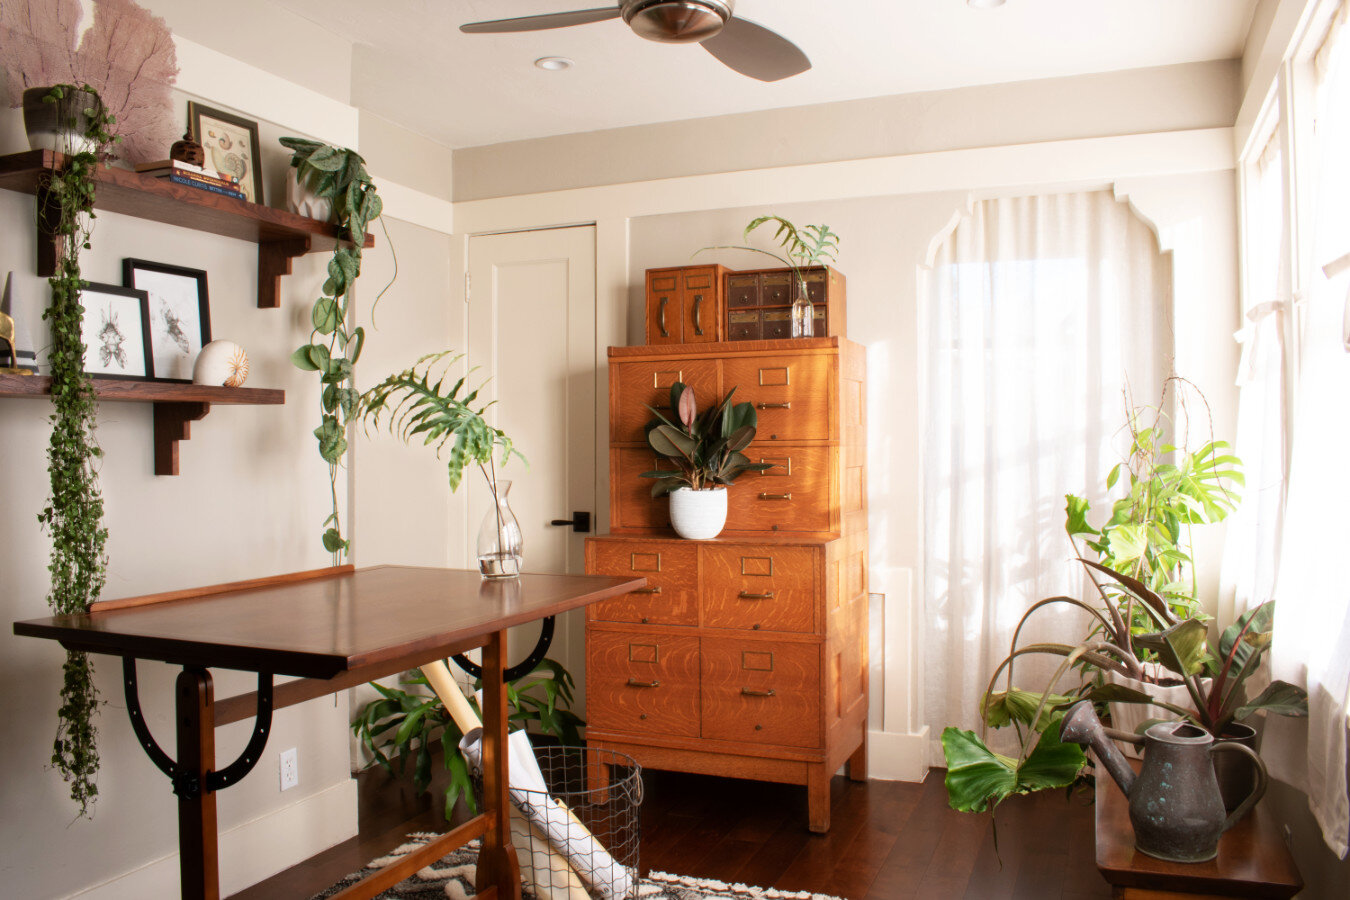
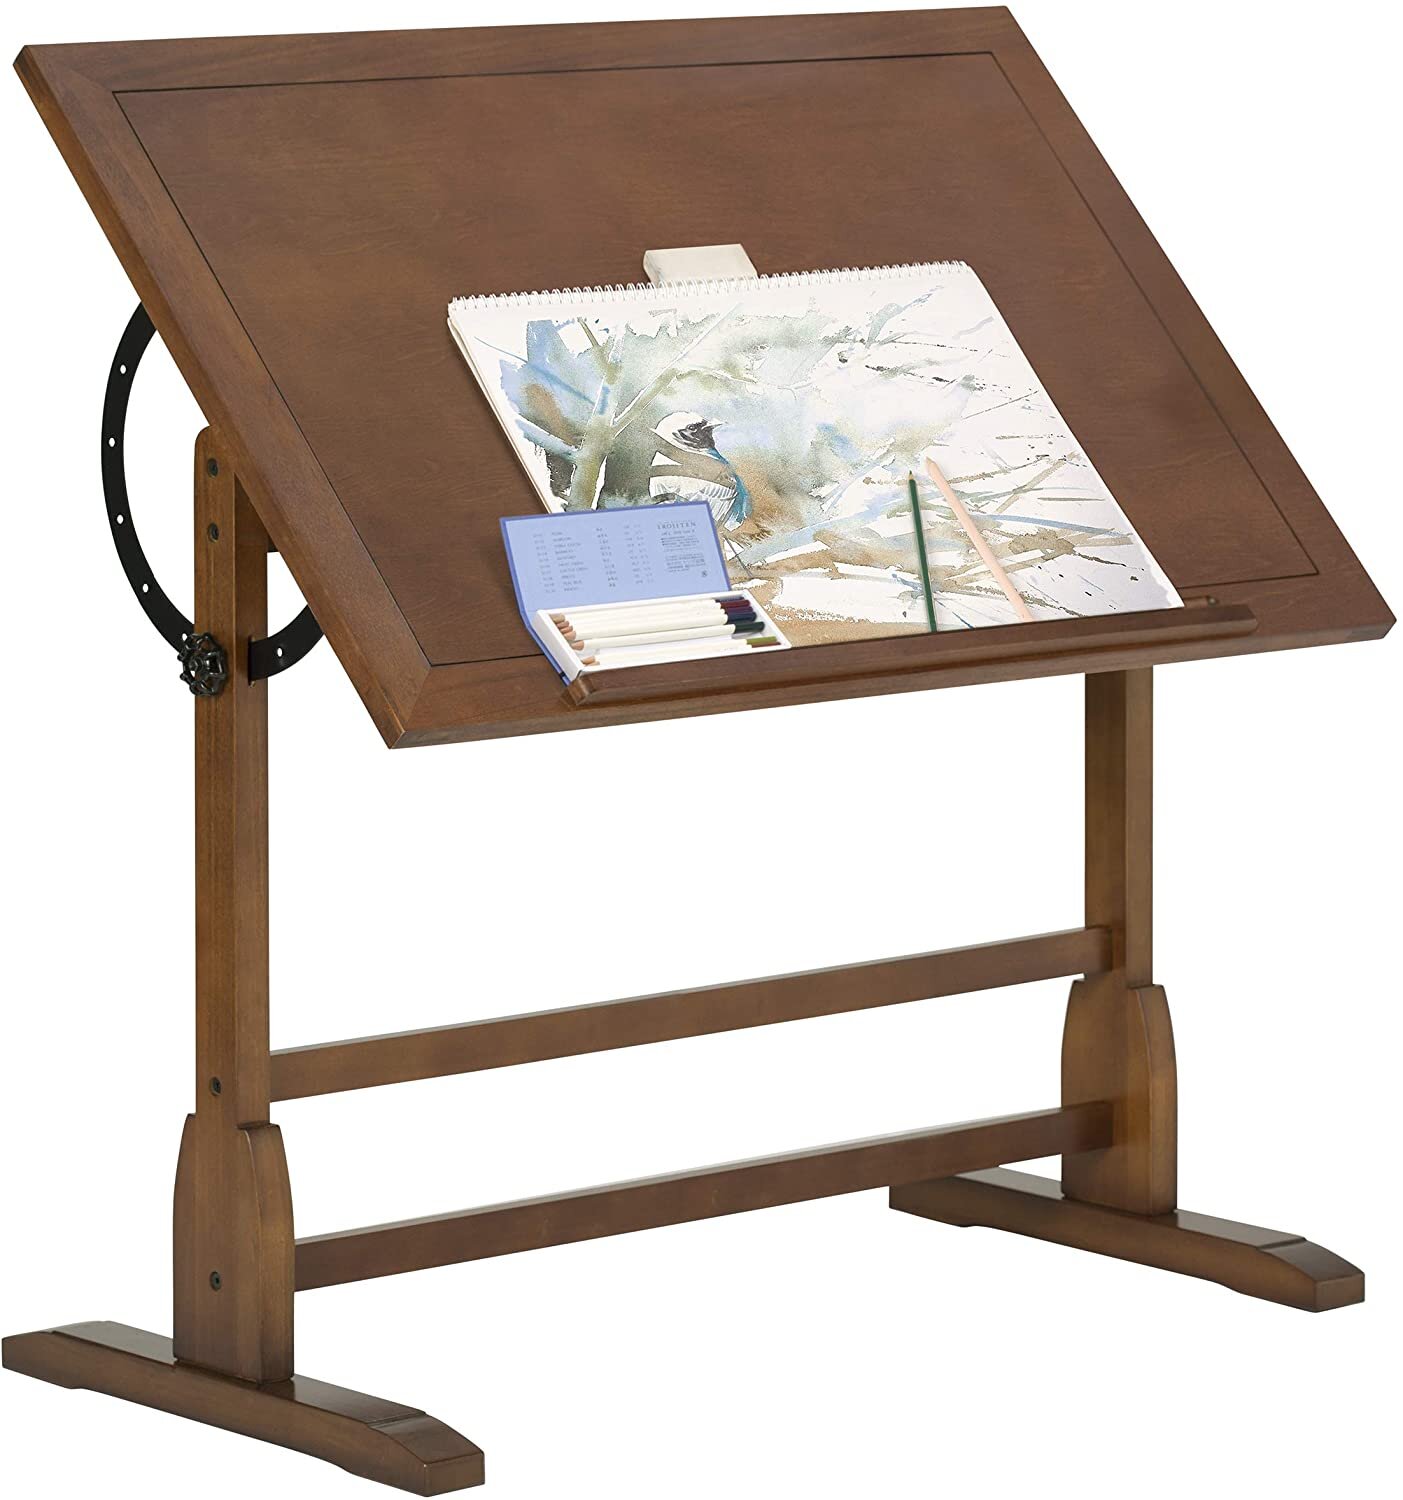
A similar view to the “before” picture above. A new drafting/project table works with my vintage oak filing cabinet.
Here’s a bullet list of all that went into this home office project:
Renovation work
Wall and ceiling resurfacing due to lots of cracks and uneven repair marks
Sanding the trim to remove worse than usual paint build-up
Removing caulk from the door frame
New door hardware for the exterior and bathroom doors
Paint
Flooring
Once construction work was complete, then onto the fun stuff
Shelves
Furniture
Window treatments
Accessories
Plants
[Want more design inspo and helpful plant tips? Let's hang out on Instagram!]
Greenhouse Studio home office renovation work
Resurfaced walls & ceiling
The walls and ceiling were very uneven and patchy. I don’t know what went on there in the past, but it wasn’t good. I had them resurfaced in a troweled texture with plaster.
I didn’t try to make them smooth like drywall or traditional plaster, since trying to make them perfectly smooth would have been too labor intensive and costly. I think the more textured wall suits this room that was originally part of a back porch.
It’s also similar to the texture in my TV room on the opposite side of the house, which was also once a porch, so I feel like now they “book-end” each other. In fact, I originally wanted to stucco this room, create coved corners (rounded rather than square corners) and then paint it to match the TV room, but again, the budget prevailed. (Read all about how to budget for a remodel.)
You can see some of the texture in the resurfaced walls. A Tillandsia xerographica sits with kid artwork, a vintage car advertisement, a mounted toadstool, a wire kiwi figurine, and a line drawing.
SHOP THE LOOK
Sanding trim & door repair + hardware
Once the walls were resurfaced, the trim, windows, and especially that exterior door needed some serious sanding to even out the decades of paint build-up. Not to mention the caulk around the exterior door had to be removed and new door hardware installed so it could actually function again.
I really like the modern-yet-traditional Baldwin door hardware I found. It would work beautifully in a 100 year old Craftsman or a new build.
Now that we can use the office door after all those years, it’s the most heavily used door in the house by far. (Especially since my son is always humoring the cat who can’t ever decide if she wants in or out.)
Home office paint selection
After my usual - ahem - paint selection challenges (read all about my trials and tribulations in how to pick paint colors), I went with Benjamin Moore’s Revere Pewter for the walls.
After going through several samples of gray, I finally decided to listen to the experts who recommended Revere Pewter instead of trying to forge my own gray path. It’s astounding what wacked undertones will show up once a large swath is painted! I’ve learned the hard way there are reasons certain colors are recommended over and over while others are not.
Revere Pewter really is a neutral gray with no weird lavender or bluish undertones, and it doesn’t skew beige either. (I’m so not a beige girl.) It has just enough pigment that it doesn’t look like a variant of off-white either, yet it still recedes into the background. (I just can’t bring myself to do white walls. Maybe someday I’ll graduate to that level of minimalist-design maturity.)
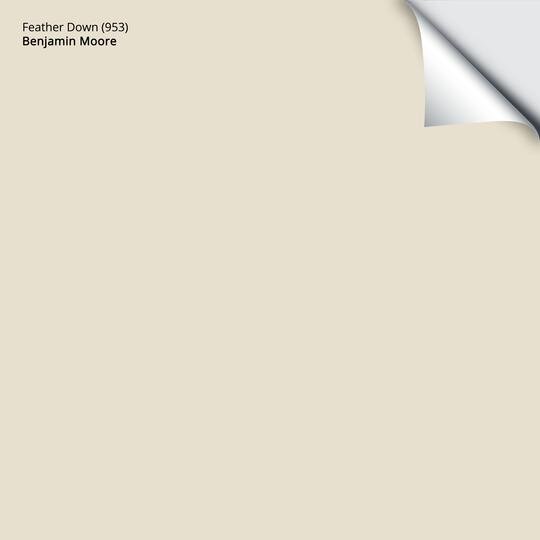
I kept with the same trim and ceiling paint I’ve used in the rest of the house - Benjamin Moore’s Feather Down for the trim and Acadia White for the ceiling.
The Feather Down is sort of a medium white, and could possibly look a tad dark for a trim especially if paired with a white wall paint, but in my house it looks great throughout.
The Acadia White is lighter than the Feather Down and every other color in my house, so I think it elevates the ceiling a bit.
Wall paint color is Benjamin Moore’s Revere Pewter, the trim color is Feather Down, and the ceiling paint is Acadia White.
Shopping for paint? Check out these real paint peel and stick samples from Samplize - pure genius! The days of messing with actual painting to choose your paint colors are over!
SHOP THE LOOK
Home office flooring
The last main remodel element was flooring. When moving in 12 years ago, I had the cheapest carpet available installed just to “get by” for a couple years until we “really remodeled” Oh the best laid plans! Fast forward a decade, and that carpet needed to go.
My first strategy based on a recommendation from a contractor friend was to strip the carpet out to expose the rustic-romantic, early 20th century fir sub-floor. Sand it, apply Tung oil, and call it done.
Once the carpet was removed though, the floor was pretty messed up in areas plus it changed direction mid-point in the room. I could have lived with this, but the clincher was that in my twins' room, which is adjacent and also getting new flooring, we discovered that the fir sub-floor had a 1950s linoleum in the most hideous shade of dried blood vulcanized to it.
After a brief session of trying to pry up the lino and scrape off the adhesive, it was clear it was going to be a hot mess and a no-go. Time for Plan B.
The carpet was removed exposing the fir sub-floor, but it turned out to be too much work for too little return, so I installed hardwood flooring instead.
Plan B was to install hardwood (and cough up more funds). When initially designing the project, I had picked out a lovely maple hardwood from Mohawk, but then abandoned it when I thought I’d do the fir sub-floor since it was a more economical alternative. Once the fir floor was out though, I had to scramble to immediately source hardwood to keep the job going.
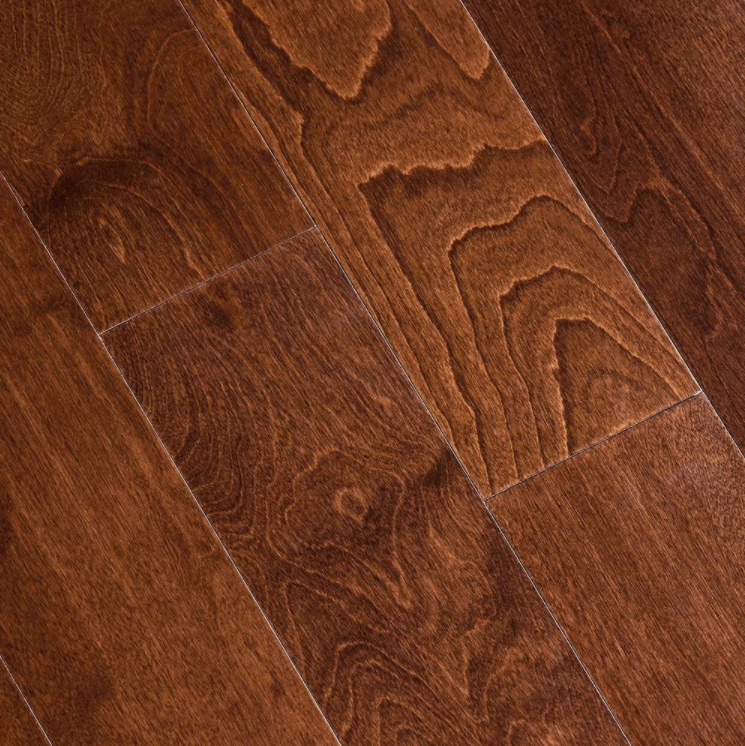
After some super-speedy research, Home Depot came to the rescue. They had this birch hardwood that was very affordable, and looks amazingly similar to the maple Mohawk. Home Depot had enough to do the job and we were able to keep going.
This hardwood is a birch veneer over plywood base so not solid wood, which would have cost a lot more and wasn’t available immediately. It looks great, but what I learned is that those types of “click-lock” flooring systems aren’t nailed down like solid hardwood is. This means that if your subfloor is uneven, you may feel it when walking over it.
Because part of the old flooring was ripped up in some places and not in others before I decided to abandon the fir sub-floor plan, you can feel an unevenness to the new floor in a couple places. I’ll admit I find this a bit bothersome, but to look at the floor and especially for the price, it looks great.
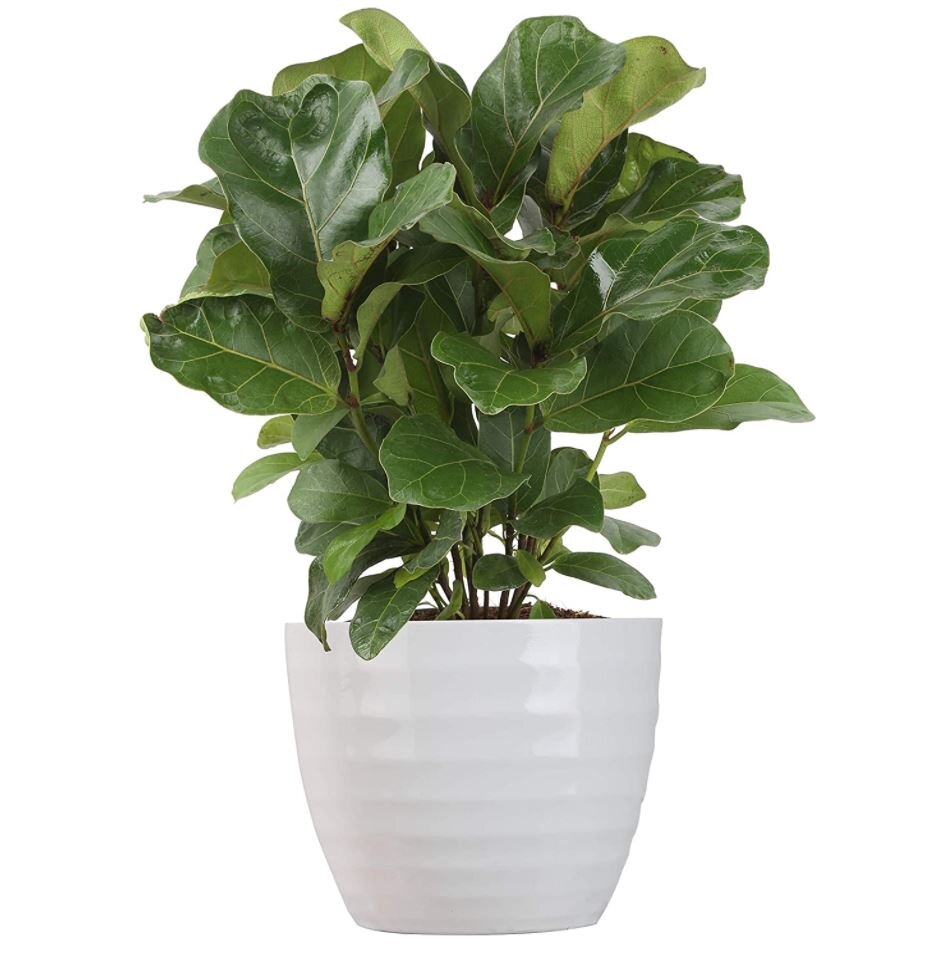
Antique Birch hardwood flooring from Home Depot. Mrs. Figg, my giant Fiddle Leaf Fig affectionately named for the Harry Potter character, towers in the corner. My bookshelf has a mix of artwork, plants, spare planter pots, oh and some work-related stuff too!
SHOP THE LOOK
Greenhouse Studio Home Office Furniture, Accessories, & Plants
Now on to the fun part!
Home office workspace setup
After doing a lot of shopping around for desks, in the end, I went with a Craig’s List dining table and matching bench originally from World Market. I had a desk picked out I loved, but somehow the price skyrocketed by the time I was ready to buy, so I decided to just say no. I’d always used a table for a desk anyway - they’re wider than most desks. It would be nice to have a drawer, but a couple desk accessories contain everyday supplies, and the rest are kept in the vintage oak filing cabinet. This table with it’s matching bench works better visually anyway, and at $125 total, it’s a win-win!
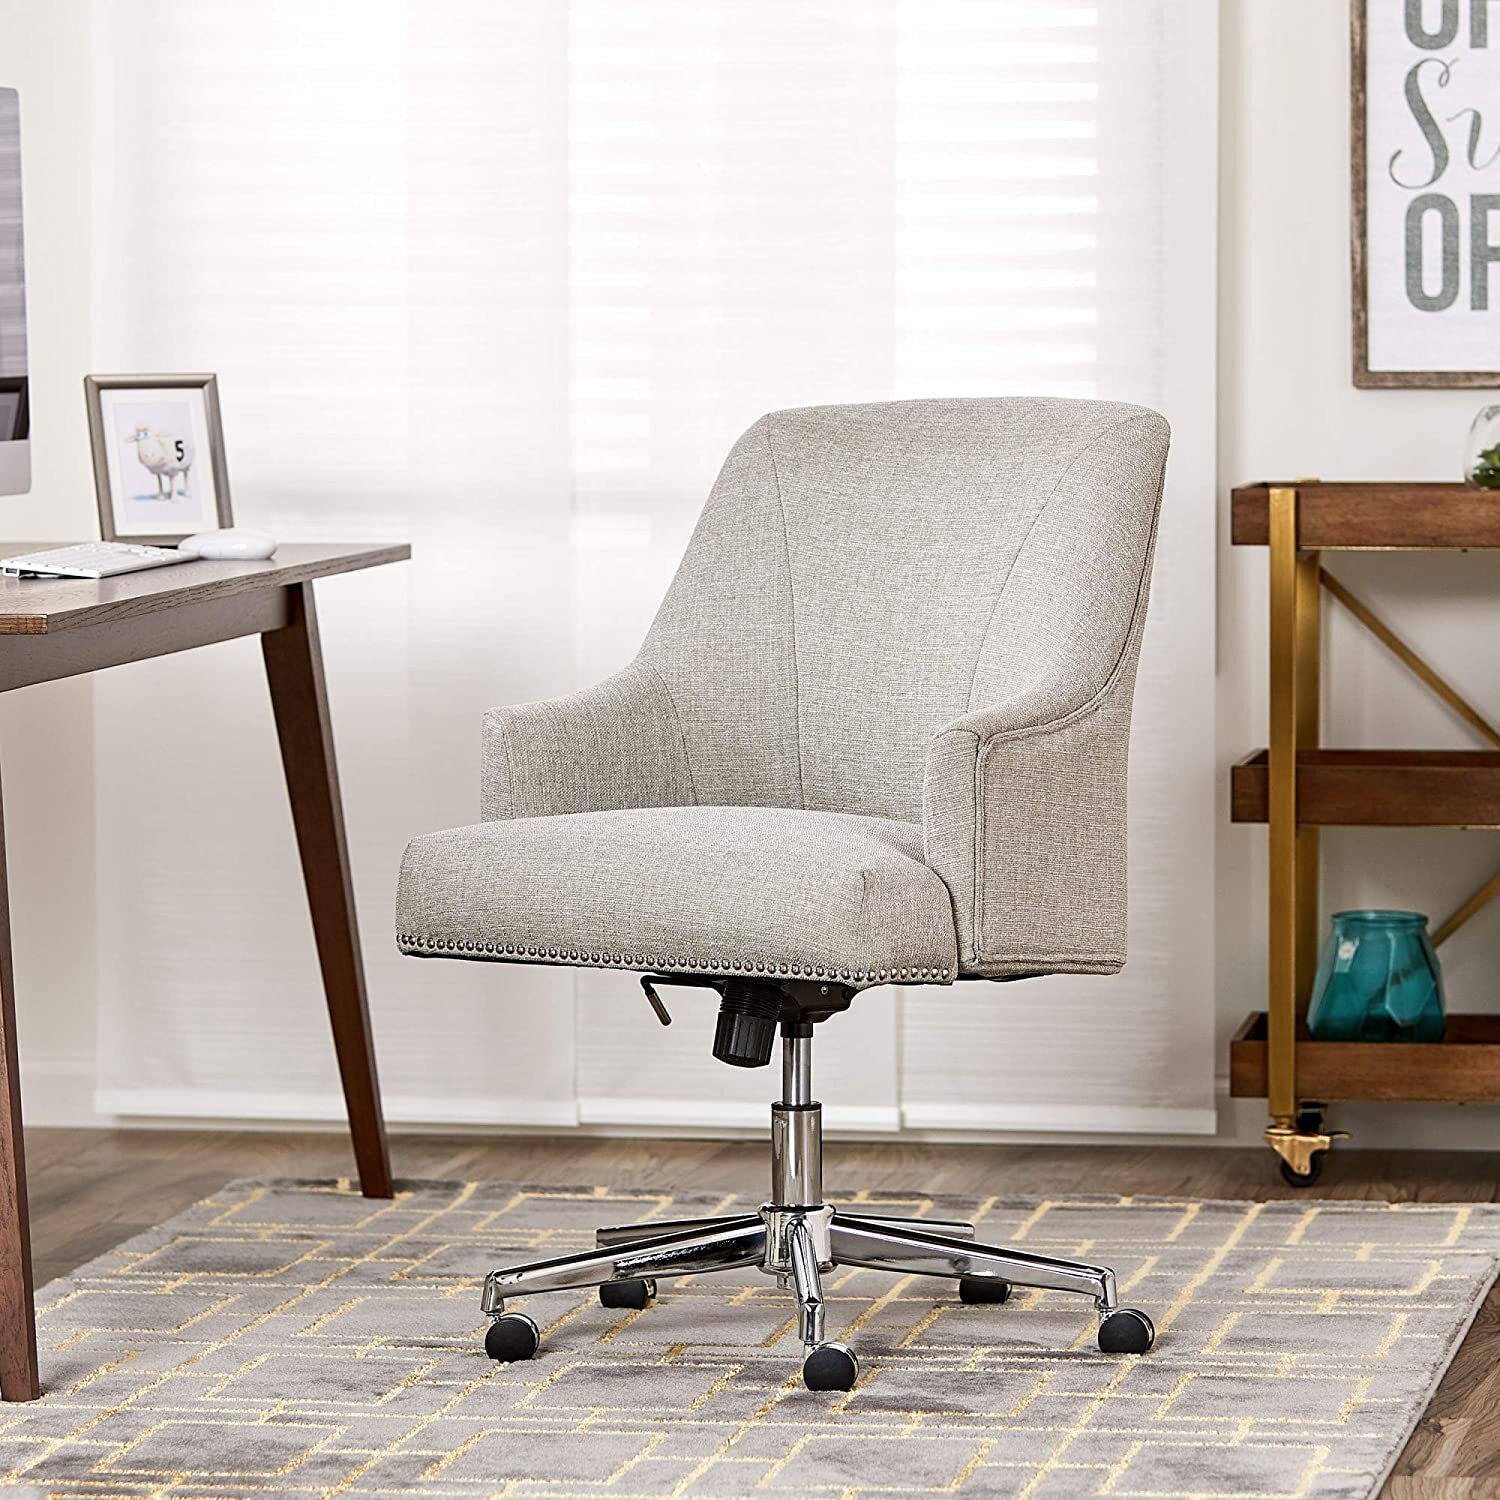
I have to give a shout out to my new Serta office chair. I wasn’t born with the greatest back, and this chair is sooo comfortable. If you need to upgrade your home office chair to one that gives good back support while looking great, this might be the chair for you!
SHOP THE LOOK
The Craig’s List table came with a matching bench that I initially told the seller I couldn’t use and to leave on the curb for free. I only took it when they pointed out they lived on a remote street, so no one would see it to take it.
Glad I did because I fell in love once I realized it fit perfectly under my windows as a plant bench! (Because who doesn’t need more plant square footage?!)
SHOP THE LOOK
Open shelves designed and constructed by DC Construction with black walnut veneer, geometric detailing, and invisible hardware.
SHOP THE LOOK
My “cabinet of curiosities” bookcase has an eclectic mix including boy-created, vintage, and purchased art and decor, various air plants, and plant accessories.
SHOP THE LOOK
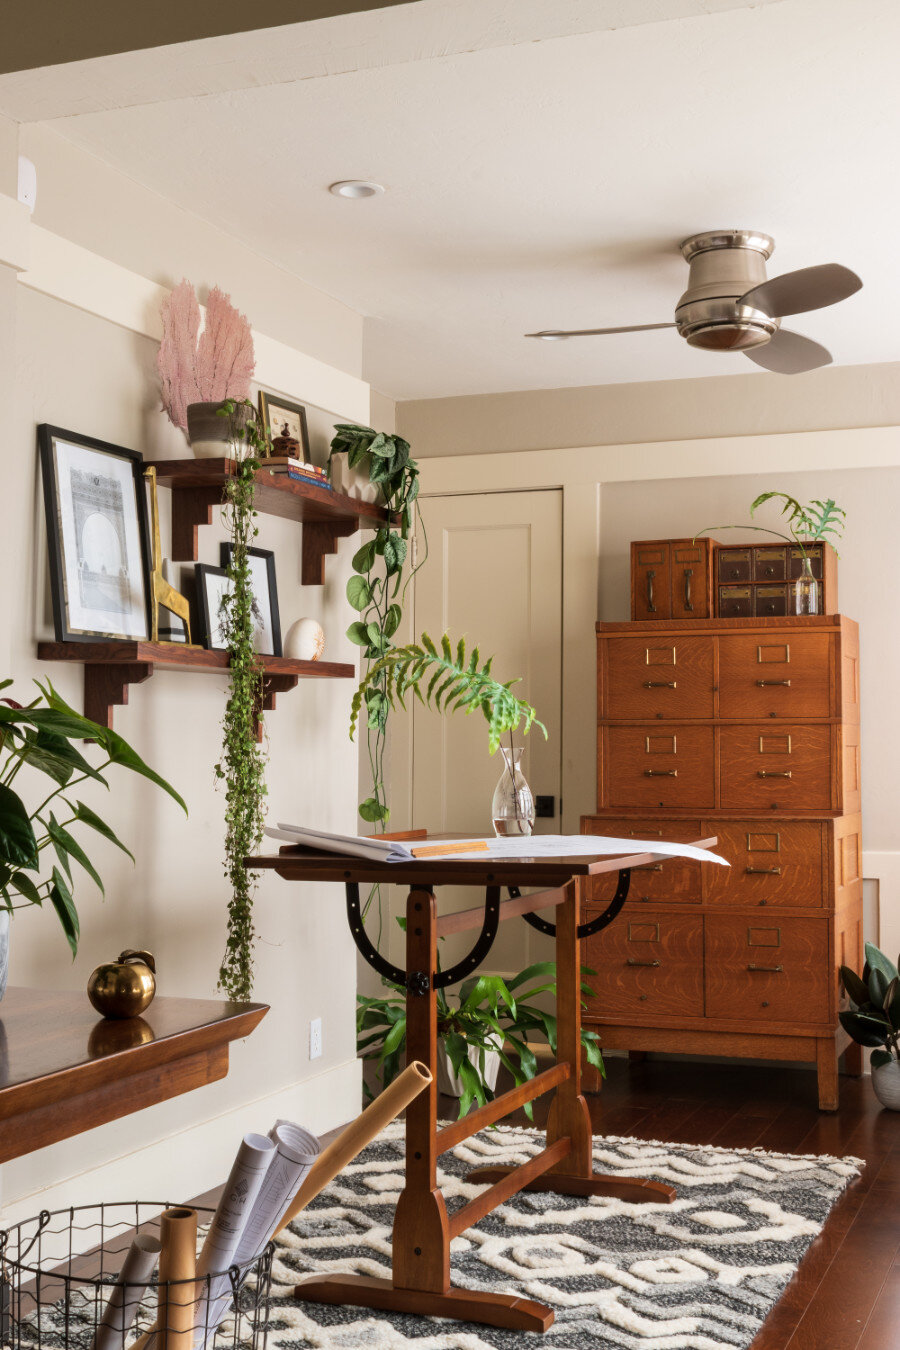
Another set of home office shelves designed and constructed by DC Construction holding framed art (the oil painting was done by my grandmother), plants, books, and vintage décor.
SHOP THE LOOK
I’m so happy with how this project turned out - I now go skipping to my computer each morning. OK I always did that because I love what I do, but now I have this beautiful home office to do it in.
For the record, my son also says he’d be happy to move back in, but only if he gets to “keep all the plants.” 😊
Are you working from home, and if so, have you made any changes to your workspace? Leave me a comment below and let me know.
[Want more design inspo and helpful plant tips? Let's hang out on Instagram!]
Other posts you’ll love:
Home Office Remodel - Plans, Mood Boards, & Progress Shots
How to make a mood board for interior design (2 easy options)
How to design a room (a home decorating step by step guide)
How to pick paint colors (while staying sane)- a step by step guide
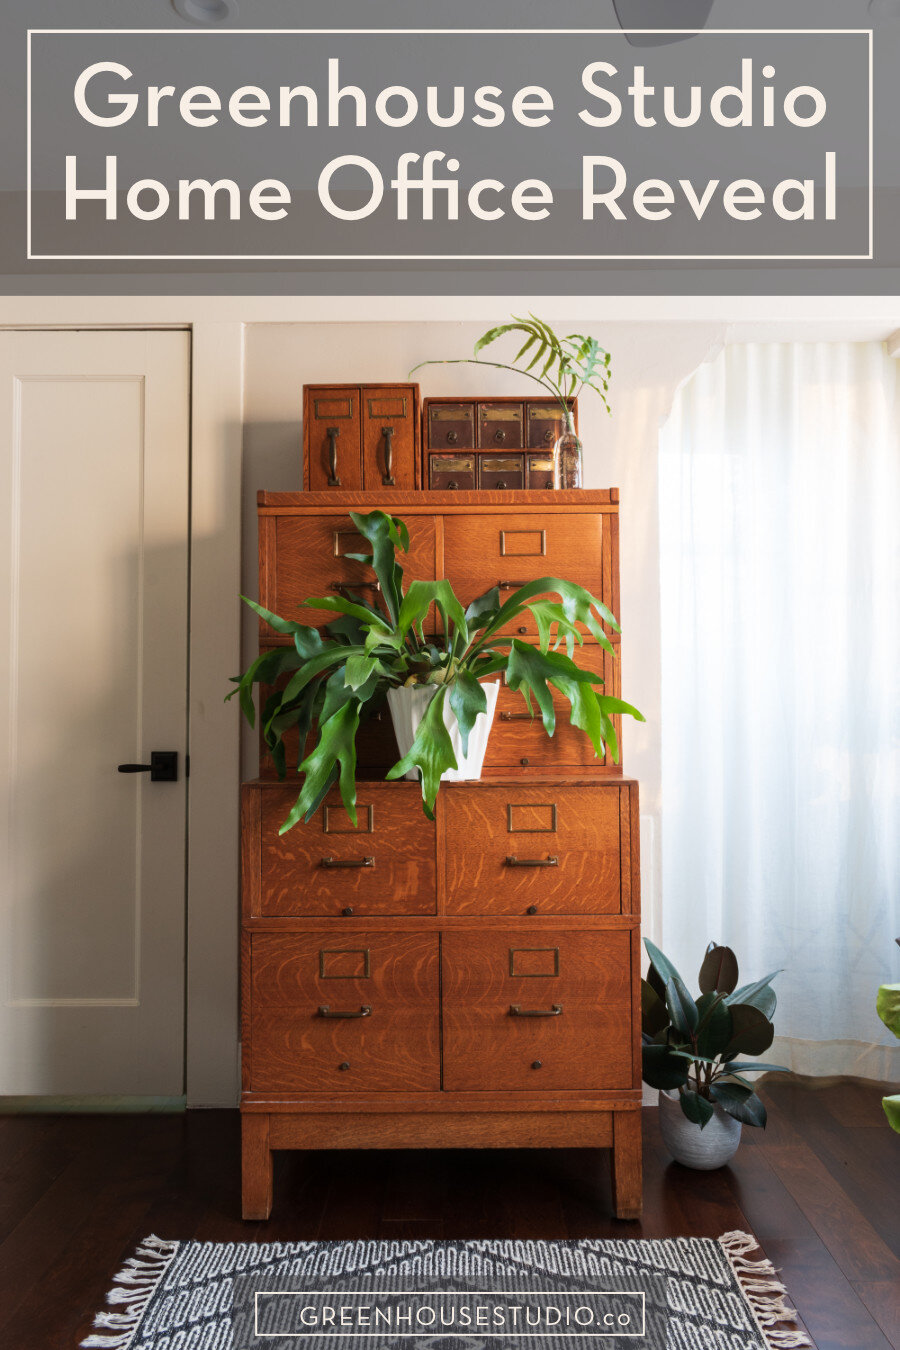
Enjoy the post? Pin it for later!

